Looking for crochet classroom decor patterns that are cheerful, practical, and simple enough for a beginner? Start with this easy crochet apple garland.
Apples are naturally associated with teachers, school days, reading corners, and back-to-school displays, which makes them especially useful for classroom décor. A row of little handmade apples can brighten a bulletin board, classroom door, teacher desk area, library corner, homeschool room, or welcome display without needing a large quantity of yarn.
The best part is that you do not need advanced crochet skills.
This beginner-friendly tutorial uses basic rows of single crochet to create the apple body. A small brown stem and green leaf are made separately, then attached before several finished apple motifs are joined onto a simple crochet cord.
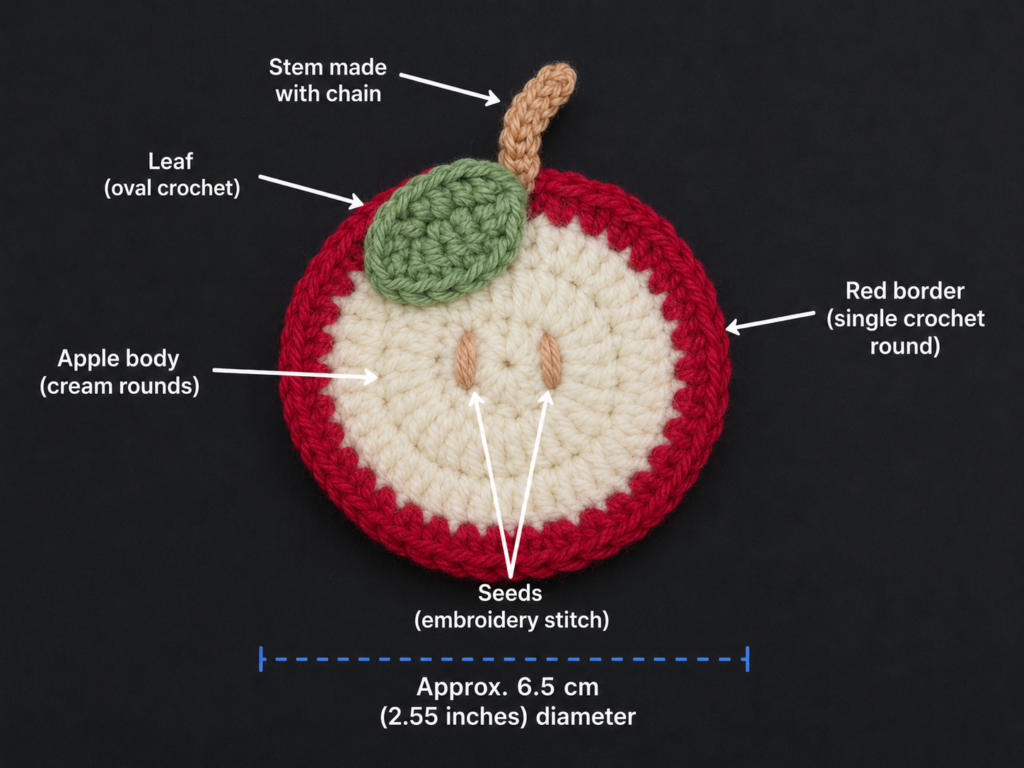
The pattern is intentionally designed differently from the selected visual reference source. Instead of constructing an apple slice in rounds, this tutorial uses a new row-based solid apple shape with its own stitch counts, shaping sequence, edging, decorative highlights, and garland assembly.
Make seven matching red apples for a traditional classroom garland, alternate red, green, and golden apples for a colorful display, or use your school colors for a completely personalized decoration.
What You’ll Learn
By the end of this crochet classroom décor tutorial, you will know how to:
- Crochet a small flat apple motif in rows.
- Use increases to make a crochet shape wider.
- Use decreases to taper the top of the apple.
- Count stitches accurately after shaping.
- Add an optional single crochet edging.
- Make a simple crocheted stem.
- Crochet a small leaf around both sides of a foundation chain.
- Add subtle embroidery details.
- Sew small crochet pieces together neatly.
- Repeat motifs consistently.
- Join multiple apples into a hanging classroom garland.
- Adjust the colors, spacing, length, and size.
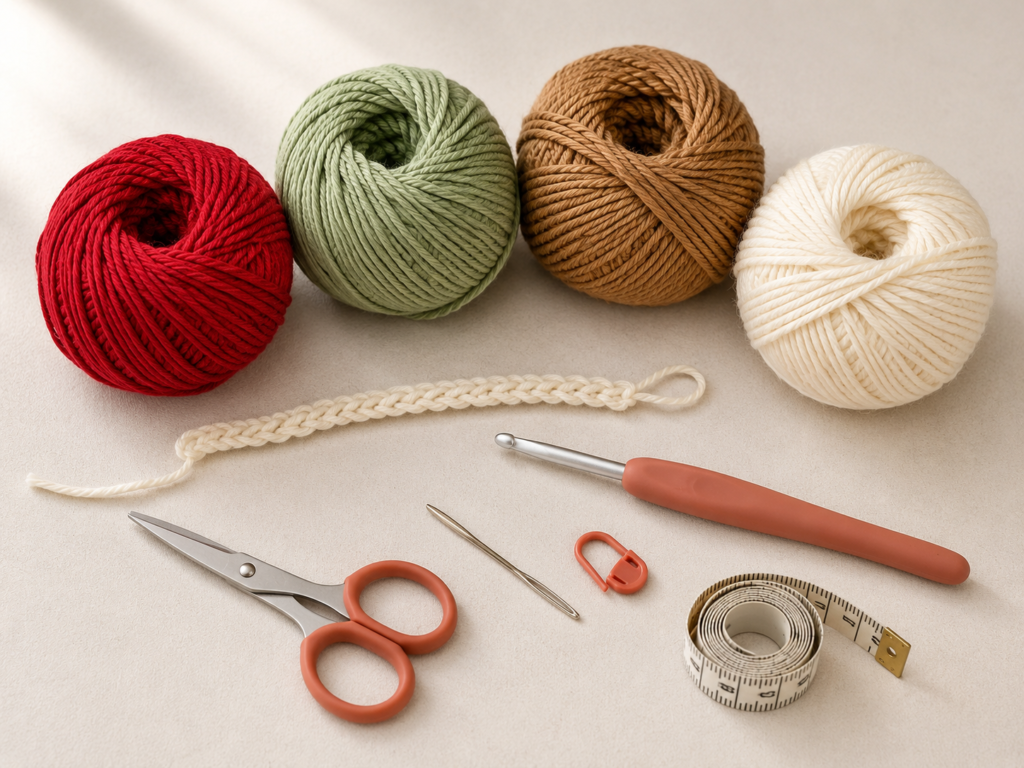
Materials You’ll Need
For one seven-apple classroom garland, gather:
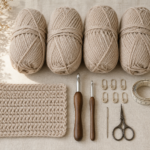
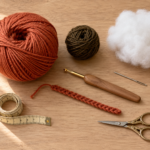
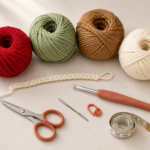
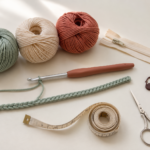
- Cherry-red DK/light worsted cotton yarn for the apple bodies.
- Dusty-sage green DK cotton yarn for leaves.
- Warm camel-brown DK cotton yarn for stems.
- Soft-cream DK cotton yarn for optional highlights and the garland cord.
- 3.5 mm / E-4 crochet hook.
- Scissors.
- Blunt tapestry needle.
- Stitch marker, optional.
- Measuring tape, optional.
- Blocking mat and rust-resistant pins, optional.
The Craft Yarn Council classifies DK and light worsted within its light yarn category, although individual yarns can vary in thickness and behavior. For this project, use a hook that produces a relatively firm, flat motif without making your hands uncomfortable.
Finished Size
Using DK cotton yarn and a 3.5 mm hook, one finished apple should measure approximately:
3 to 3.5 inches / 7.5 to 9 cm wide
and approximately:
3.5 inches / 9 cm tall including the stem and leaf
Seven apples joined with moderate spacing should produce a garland approximately 40 to 50 inches / 100 to 127 cm long, depending on your personal tension and the number of chains placed between motifs.
The exact dimensions are not critical. Classroom walls, boards, doors, and shelving areas vary greatly, so this pattern is deliberately easy to lengthen or shorten.
Gauge and Tension
Gauge is not essential for this decorative project.
The more useful test is to check that your finished fabric:
- Lies reasonably flat.
- Has clearly visible stitches.
- Does not feel extremely stiff.
- Does not have large loose gaps.
- Holds its shape when hung vertically.
Try to maintain similar tension across every apple so all motifs look like part of one coordinated set.
For seven matching apples, it is helpful to make the first motif completely, measure it, and keep it nearby as a visual reference while crocheting the others.
Crochet Abbreviations Used
This tutorial uses standard U.S. crochet terminology:
- ch = chain
- sc = single crochet
- hdc = half double crochet
- dc = double crochet
- sl st = slip stitch
- st/sts = stitch/stitches
- inc = increase, meaning two single crochet stitches in one stitch
- dec = decrease two stitches into one
- rep = repeat
- RS = right side
- WS = wrong side
These abbreviations follow common Craft Yarn Council terminology.
U.S./U.K. terminology note
This article uses U.S. terms.
The U.S. single crochet is called a double crochet in U.K. terminology, and the U.S. double crochet is called a treble crochet in U.K. terminology. Always confirm which terminology a pattern uses before starting.
Before You Start
Understand the turning chain
At the beginning of each apple-body row, you will chain one and turn.
In this pattern, the turning chain does not count as a stitch.
Always place your first single crochet into the first actual stitch of the row.
Count after every increase or decrease row
The apple body begins with six stitches, grows to ten stitches, stays straight for two rows, then decreases back to six.
The counts are:
- Row 1: 6 stitches
- Row 2: 8 stitches
- Row 3: 10 stitches
- Row 4: 10 stitches
- Row 5: 10 stitches
- Row 6: 8 stitches
- Row 7: 6 stitches
Checking these numbers immediately will save you from discovering a shaping error after completing several motifs.
Keep your edges relaxed
If your apple curls strongly inward, your tension may be too tight.
If the fabric is very floppy and the spaces between stitches are large, your tension may be too loose.
A small amount of curling is easy to correct with gentle blocking.
Choose your colors before making all seven apples
A traditional palette could be:
- Cherry red apples.
- Dusty-sage leaves.
- Camel-brown stems.
- Cream garland cord.
Other good classroom palettes include:
- Red, green, and golden apples.
- Rainbow apples.
- School colors.
- Muted Montessori-inspired neutrals.
- Bright primary colors.
- Pastel red, pink, peach, and mint.
Beginner note
The apple body is worked in rows, not rounds.
That means you will reach the end of each row, chain one, turn the fabric, and crochet back across in the opposite direction.
Step-by-Step Crochet Tutorial
Step 1: Crochet the Apple Body
Using cherry-red DK cotton yarn and your 3.5 mm crochet hook:
Ch 7.
Row 1
Sc in the second chain from the hook and in each remaining chain across.
Stitch count: 6 sc.
Ch 1 and turn.
Row 2
Work:
2 sc in the first stitch, sc in each of the next 4 stitches, 2 sc in the final stitch.
Stitch count: 8 sc.
Ch 1 and turn.
Row 3
Work:
2 sc in the first stitch, sc in each of the next 6 stitches, 2 sc in the final stitch.
Stitch count: 10 sc.
Ch 1 and turn.
Your small red piece should now be wider than the foundation chain.
Beginner tip:
Place a stitch marker in the first stitch of the row when you are still learning to identify edge stitches. This helps prevent accidentally skipping the first or last stitch.
Common mistake to avoid:
Do not work into the turning chain. It does not count as one of the stitches in this pattern.
Step 2: Complete the Apple Shape and Add the Optional Edging
Continue with cherry-red yarn.
Row 4
Sc in every stitch across.
Stitch count: 10 sc.
Ch 1 and turn.
Row 5
Sc in every stitch across.
Stitch count: 10 sc.
Ch 1 and turn.
These two straight rows create the widest central portion of the apple.
Row 6
Work:
Dec over the first 2 stitches, sc in the next 6 stitches, dec over the final 2 stitches.
Stitch count: 8 sc.
Ch 1 and turn.
Row 7
Work:
Dec over the first 2 stitches, sc in the next 4 stitches, dec over the final 2 stitches.
Stitch count: 6 sc.
Fasten off.
You now have a small red motif that widens through the lower-middle section before narrowing toward the top.
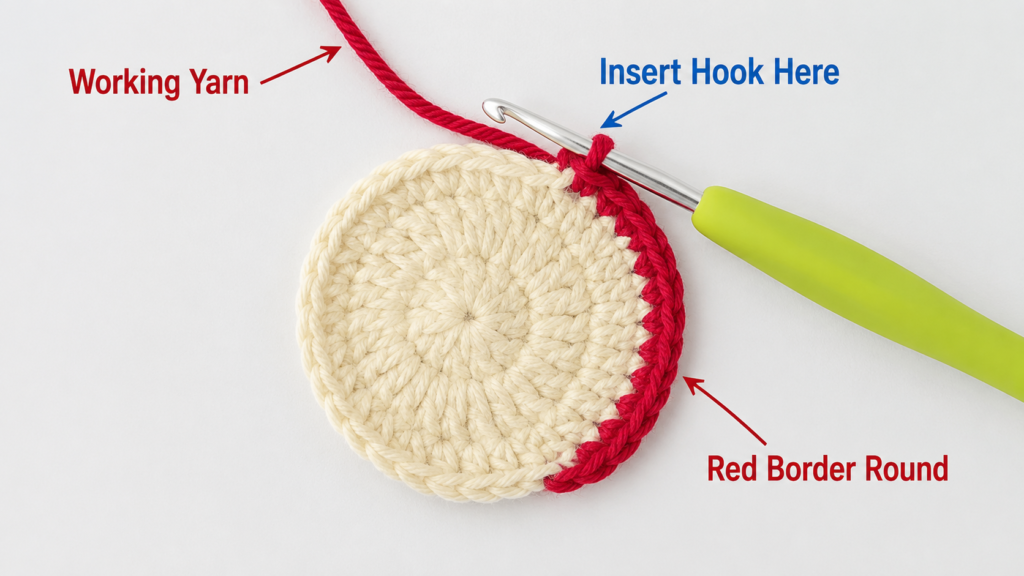
Optional single crochet edging
The border is optional, but it can give the motif a more polished outline.
Rejoin the red yarn near one upper corner.
Work single crochet stitches evenly around the entire outer edge, aiming for:
- Approximately one single crochet in each row-end along the sides.
- One stitch in each foundation-chain position along the lower edge.
- Two single crochets in each lower corner if needed to prevent pulling.
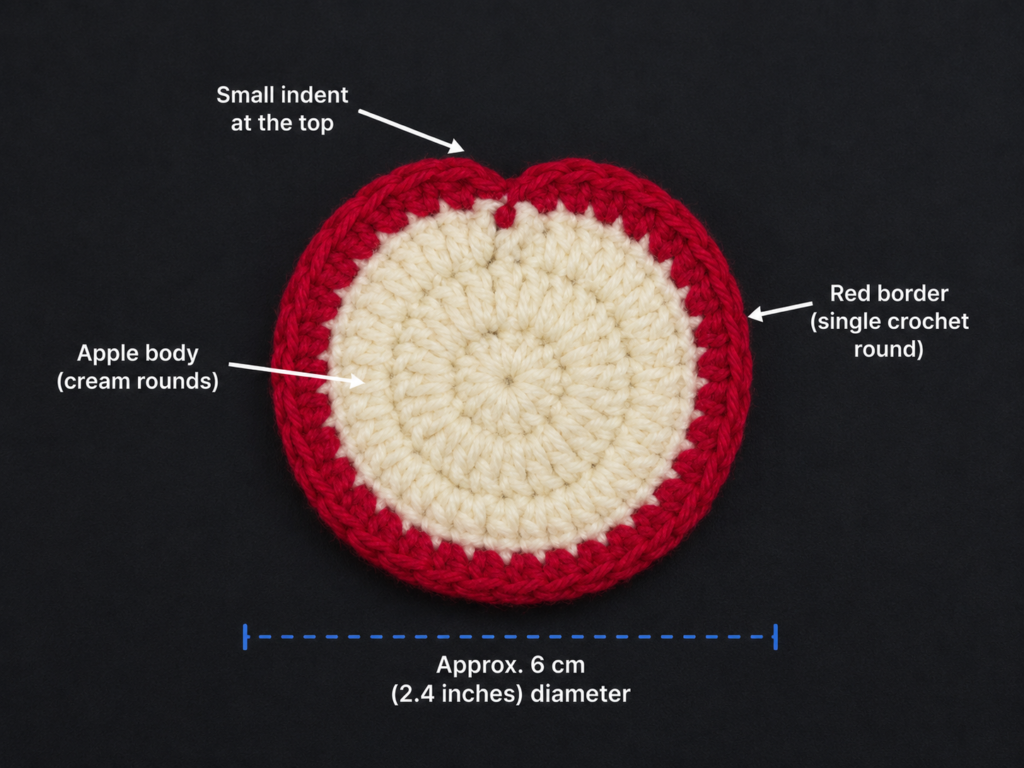
At the upper center of the apple, make one slip stitch between the two center stitches to create a shallow visual dip.
Do not force an exact border stitch count. The goal is a flat edge with no puckering or ruffling.
Fasten off and weave in the ends.
Beginner tip:
After finishing the apple body, place it flat on the table. The left and right sides should look reasonably balanced. Handmade crochet will naturally have slight differences, so perfect machine-like symmetry is unnecessary.
Common mistake to avoid:
Too many edging stitches can create ruffles. Too few can make the motif curl inward. Remove a few stitches or add one where needed until the apple lies flat.
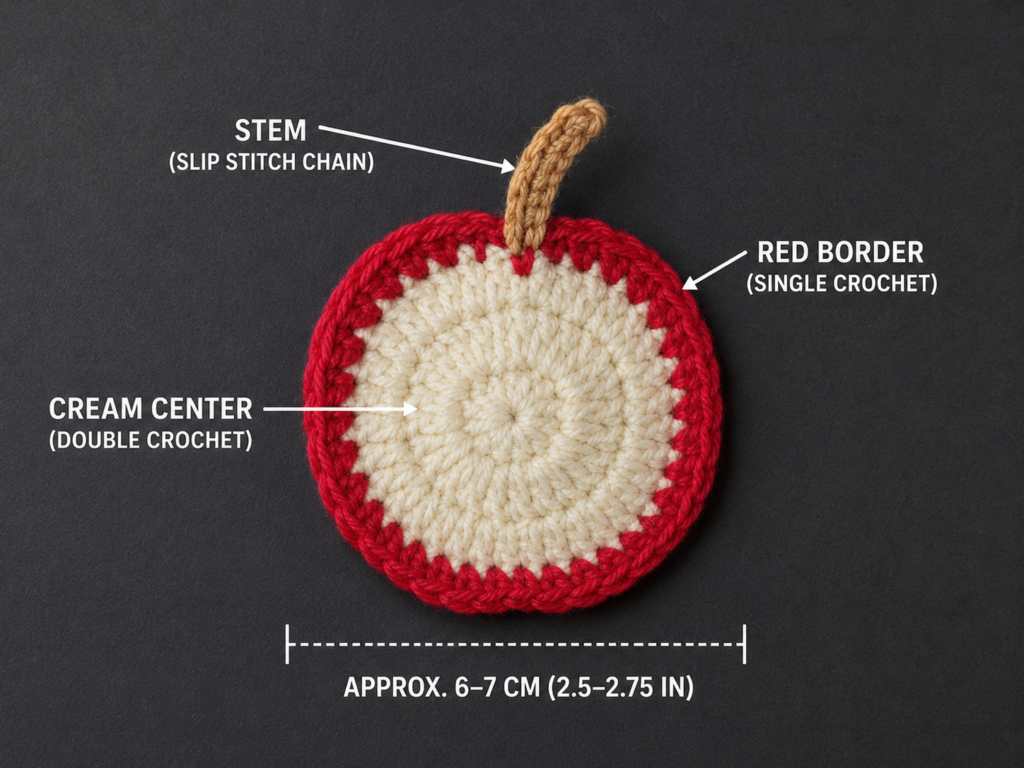
Step 3: Crochet the Brown Apple Stem
Using warm camel-brown yarn:
Ch 6.
Starting in the second chain from the hook:
Sc in each chain across.
You should have:
5 sc.
Fasten off, leaving a tail approximately 6 inches long for sewing.
Position the stem vertically behind the top center of the apple so approximately half to two-thirds of it extends above the red body.
Use the brown yarn tail and tapestry needle to make several small stitches through the back of the apple.
Keep the sewing stitches primarily on the wrong side so the front remains clean.
Beginner tip:
Before sewing permanently, place the leaf beside the stem to check the composition. You may prefer the stem leaning slightly to the left or right.
Common mistake to avoid:
Do not pull the sewing yarn extremely tightly. This can make the upper edge of the apple pucker.
Step 4: Crochet the Green Leaf
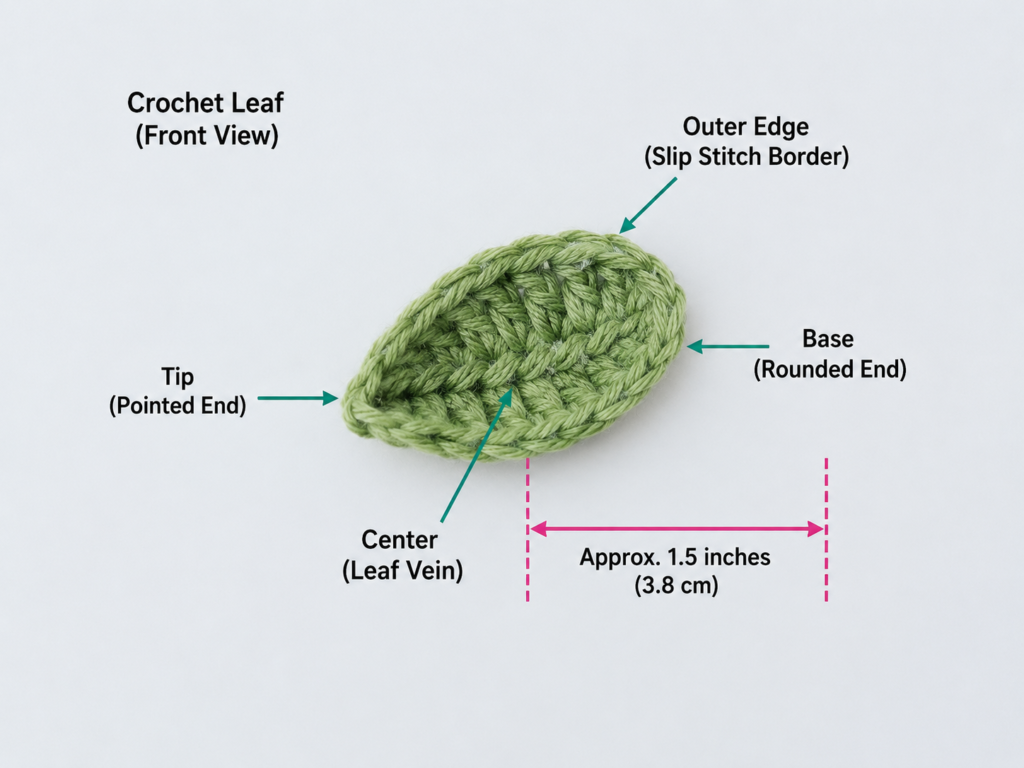
Using dusty-sage green yarn:
Ch 7.
Beginning in the second chain from the hook, work:
- Sl st in the next chain.
- Sc in the next chain.
- Hdc in the next chain.
- Dc in the next chain.
- Hdc in the next chain.
- Sc in the final chain.
Now chain 1.
Do not turn the work.
Rotate the foundation chain so you can crochet along the unused loops on the opposite side.
Work:
- Sc in the first available loop.
- Hdc in the next.
- Dc in the next.
- Hdc in the next.
- Sc in the next.
- Sl st in the final position.
Fasten off, leaving a long tail for sewing.
You should have a small oval leaf with subtly pointed ends.
Beginner tip:
The stitches of different heights create the leaf shape naturally. The slip stitches and single crochets keep the tips narrow, while the double crochet creates fullness near the center.
Common mistake to avoid:
Do not accidentally work twice into one chain position while skipping another. Slowly identify each unused loop on the opposite side.
Step 5: Add Optional Embroidered Highlights
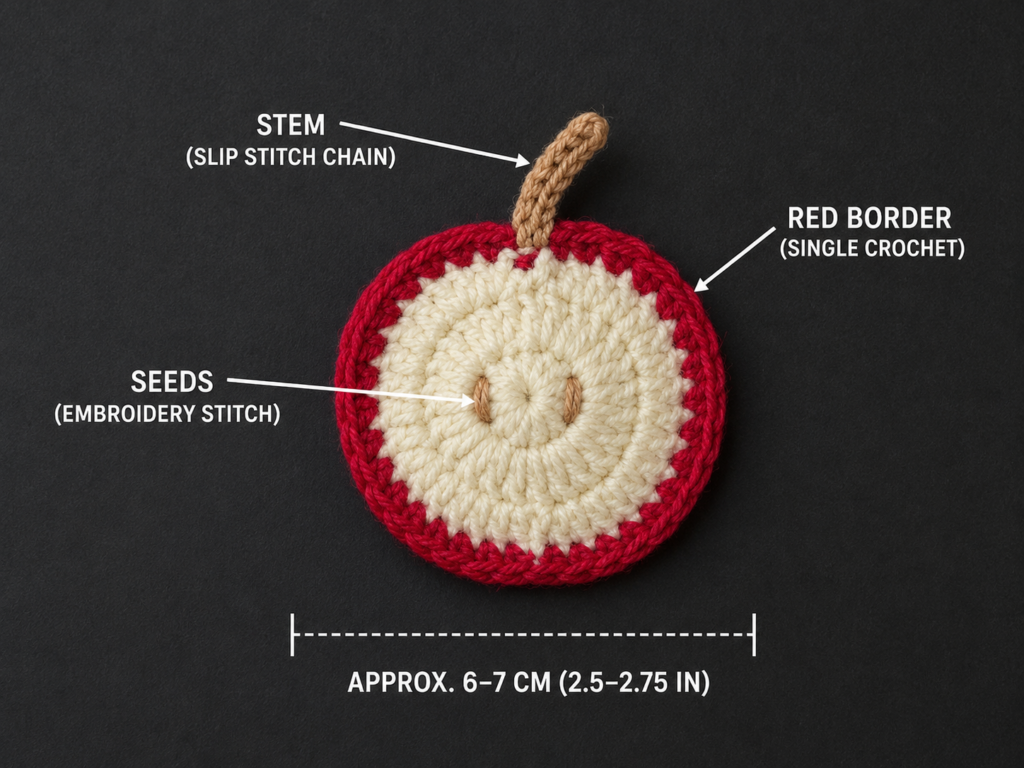
This step is optional, but two tiny cream stitches can make a simple red apple feel more polished.
Cut approximately 12 inches of soft-cream yarn and thread it through your tapestry needle.
Near the upper-left area of the apple, make one short vertical stitch through the crochet fabric.
Make a second, slightly shorter stitch beside it.
Keep both stitches subtle.
Secure the yarn on the wrong side and weave in the ends.
You could also skip these highlights completely for a more traditional look.
Alternative classroom details
Instead of cream highlights, consider:
- One tiny embroidered initial.
- A small number.
- A contrasting surface-crochet line.
- A different color for each school group.
- No decorative stitching at all.
Avoid adding beads, buttons, or other small detachable decorations when the garland will be installed where young children could reach it.
Beginner tip:
Do not pull embroidery stitches too tightly. They should rest on the crochet surface without distorting the apple body.
Common mistake to avoid:
Avoid making long loose strands across the back. Weave the yarn securely between nearby stitches.
Step 6: Sew the Leaf to the Apple
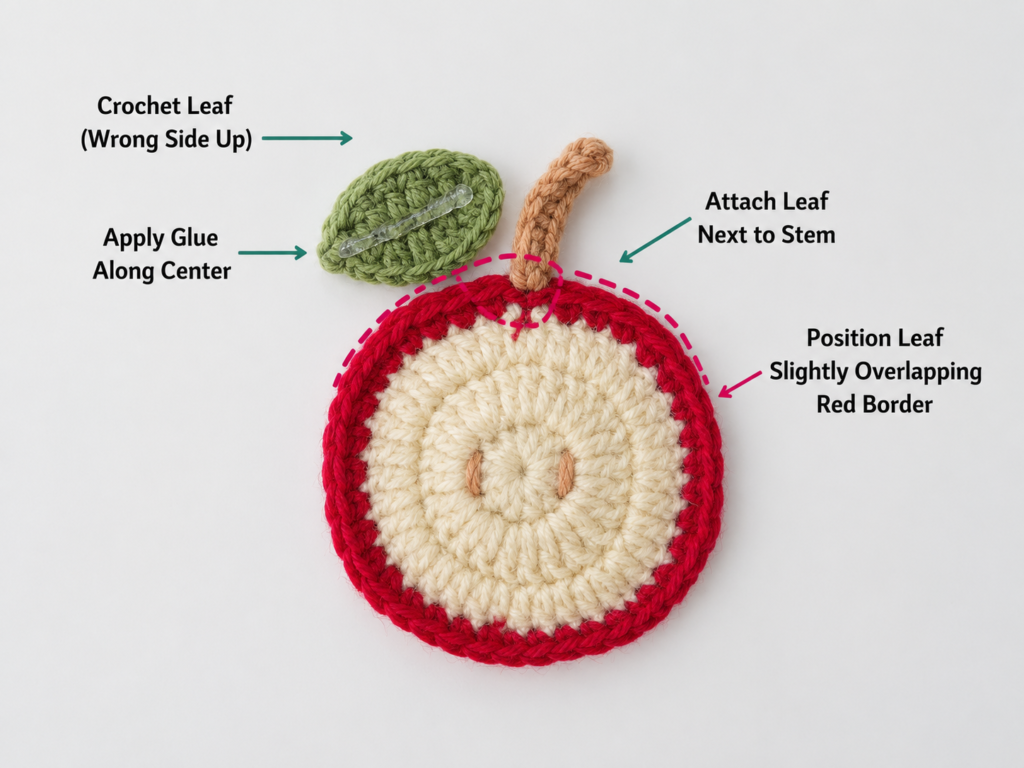
Position the dusty-sage leaf next to the brown stem.
Try several angles before sewing.
For a natural appearance, place the leaf slightly diagonally rather than perfectly horizontal.
Thread the green tail through your tapestry needle.
Make several small stitches through the center and lower edge of the leaf, catching the red crochet fabric underneath.
Avoid sewing around every millimeter of the leaf edge. A few secure stitches are generally enough for decorative wall décor.
Check the front.
Once you are happy with the placement, weave the green tail securely into the wrong side.
Your first apple is now complete.
Beginner tip:
Use the first completed apple as a template for the remaining motifs. Place each new apple beside it and compare size, stem placement, leaf angle, and decorative details.
Common mistake to avoid:
Do not attach the leaf before testing where your garland cord will pass. Keep the upper-center area accessible enough for joining the motif later.
Step 7: Make the Remaining Apple Motifs
For the sample classroom garland, make:
7 apples total.
Repeat Steps 1–6 for every motif.
For a consistent result:
- Use the same yarn brand and weight.
- Use the same hook.
- Count every shaping row.
- Keep the same approximate stem length.
- Place leaves at similar angles.
- Keep embroidery details similar.
Do not worry about tiny handmade differences. Slight variations make the garland feel handmade rather than mass-produced.
Color variation option
Instead of seven red apples, try:
- 3 red apples.
- 2 muted green apples.
- 2 golden-yellow apples.
Keep the same green leaves and brown stems to connect the palette visually.
Beginner tip:
Crochet all apple bodies first, then all stems, then all leaves. Batch-making can help maintain consistent tension and size.
Common mistake to avoid:
Do not assume every motif has the correct stitch count simply because it looks approximately right. A missed increase or decrease can become much more obvious once all seven apples are hanging beside each other.
Step 8: Crochet the Garland Cord and Attach the Apples
Using soft-cream yarn, make:
Ch 30.
This creates the first hanging tail.
Hold the first apple with its right side facing you.
Insert the crochet hook through a secure stitch near the top center of the apple, behind or very close to the stem.
Yarn over and pull a loop through the apple.
Pull that loop through the loop already on your hook to make a slip stitch attachment.
Now:
Ch 18.
Attach the next apple in the same way.
Continue:
Attach one apple, ch 18, attach the next apple.
Repeat until all seven apple motifs are joined.
After attaching the final apple:
Ch 30.
Fasten off.
You now have two longer tails for hanging and approximately 18 chains between each apple.
Adjusting the spacing
For closer apples:
Ch 10–14 between motifs.
For wider spacing:
Ch 20–25 between motifs.
Lay all apples on a table before finalizing the cord if you are uncertain about spacing.
Alternative assembly method
You can crochet the entire cream chain separately and sew each apple to it afterward.
This option is particularly useful when you want to adjust every apple’s final position precisely.
Beginner tip:
After attaching the third apple, lay the garland flat and check that all motifs face the same direction.
Common mistake to avoid:
Do not insert the hook through only a loose yarn strand at the top. Choose a complete, structurally secure crochet stitch so the apple does not pull free.
Pattern Notes or Stitch Notes
Turning-chain rule
The chain 1 made at the beginning of each apple-body row does not count as a stitch.
Work the first single crochet into the first actual stitch.
Apple-body stitch counts
Keep these numbers nearby:
- Row 1: 6 stitches
- Row 2: 8 stitches
- Row 3: 10 stitches
- Row 4: 10 stitches
- Row 5: 10 stitches
- Row 6: 8 stitches
- Row 7: 6 stitches
Repeat pattern
For each apple:
- Crochet the body.
- Add optional edging.
- Make one stem.
- Make one leaf.
- Add optional embroidered highlights.
- Assemble.
Repeat until you have the desired number of motifs.
Right side and wrong side
Because the apple body is worked in turned rows, neither side is dramatically different.
Choose the cleaner-looking surface as the right side and use that same orientation for every motif.
Keep most sewing knots and woven tails on the wrong side.
Size adjustment notes
For larger apples, the easiest method is to use:
- Thicker yarn.
- A correspondingly larger hook.
For smaller apples:
- Use sport or fingering-weight yarn.
- Choose a smaller hook appropriate for that yarn.
Changing the stitch counts is possible, but beginners will usually find yarn substitution easier because the shaping mathematics remain unchanged.
Common Beginner Mistakes
1. Accidentally working into the turning chain
Problem: The apple gradually gains stitches and becomes uneven.
Fix: Remember that the chain 1 does not count. Place the first sc in the first actual stitch.
2. Missing the final stitch of a row
Problem: One edge becomes narrower too early.
Fix: Count immediately after every row. Use a stitch marker in the first and last stitches when needed.
3. Making the foundation chain too tight
Problem: The bottom edge pulls inward.
Fix: Relax your tension while chaining. You can also make the foundation with a slightly larger hook, then return to 3.5 mm.
4. Adding too many stitches around the edging
Problem: The apple develops a ruffled outer border.
Fix: Remove some border stitches, especially along the sides. Aim for approximately one stitch per row-end.
5. Pulling the edging too tightly
Problem: The apple cups inward.
Fix: Relax the tension or add an occasional extra stitch where the edge is pulling.
6. Misplacing the leaf
Problem: The top feels visually crowded or the leaf covers the stem.
Fix: Arrange the stem and leaf before sewing. Take a quick photo with your phone if you want to remember the preferred placement.
7. Inconsistent motif sizes
Problem: Some apples look noticeably larger than others.
Fix: Use the same yarn, hook, and approximate tension. Compare every completed body with your first apple.
8. Uneven garland spacing
Problem: Some apples are crowded together while others have large gaps.
Fix: Use the same chain count between every motif and count carefully.
How to Customize This Crochet Project
Change the yarn colors
The traditional red apple is only one option.
Try:
- Red, green, and golden apples.
- Soft pink and cream.
- Rainbow-colored apples.
- Neutral beige and rust.
- School-color combinations.
- Pastel classroom colors.
Make the garland longer
Simply add more apple motifs.
Try:
- 5 apples for a small door.
- 7 apples for a reading corner.
- 9 apples for a bulletin board.
- 12 or more for a long classroom wall.
The exact number depends on your available space.
Adjust the spacing
Use fewer chains for a compact garland.
Use more chains for an airy display.
You can also alternate:
apple — longer chain — apple — shorter chain
for a less formal layout.
Add crochet pencils between the apples
For a more detailed back-to-school theme, alternate:
apple — pencil — apple — pencil
This can become a future related tutorial and creates a stronger visual connection to the broader keyword crochet classroom decor patterns.
Turn the apples into a bulletin-board border
Instead of attaching them to one long cord, pin individual apples around the outer edge of a classroom bulletin board.
Use removable fasteners appropriate for the wall or board material.
Add alphabet letters
Create one letter per apple to spell short classroom words such as:
- READ
- LEARN
- CREATE
For a children’s classroom, avoid loose or easily detachable additions where young children can reach them.
Make individual hanging ornaments
Add a small chain loop to each apple and hang them individually from:
- Classroom hooks.
- A reading tree display.
- A teacher desk shelf.
- Cabinet handles.
- Bulletin-board corners.
Turn them into teacher gifts
One apple motif can become:
- A bag charm.
- A gift-tag embellishment.
- A bookmark topper.
- A desk decoration.
- A teacher-appreciation ornament.
Finishing Instructions
Fastening off
After completing each crochet piece:
- Cut the yarn, leaving a suitable tail.
- Pull the tail completely through the final loop.
- Thread it through a tapestry needle.
- Weave through several nearby stitches on the wrong side.
- Reverse direction once.
- Trim the excess.
Avoid cutting extremely close to the first pass because short tails can work loose more easily.
Weaving in ends
For a seven-apple garland, weave ends as you go.
Do not wait until every motif is complete unless you genuinely enjoy finishing a large pile of yarn tails at once.
A useful rhythm is:
crochet one apple → assemble it → weave in all ends → begin the next.
Blocking
Light blocking can improve the appearance of the motifs.
For cotton yarn:
- Lightly dampen the apple.
- Gently shape it with your fingers.
- Place it on a blocking mat.
- Pin only if needed.
- Let it dry completely.
Do not overstretch the motif.
The goal is to flatten and refine the shape, not make the apple dramatically larger.
Shaping
Before hanging the garland:
- Straighten every stem.
- Adjust each leaf.
- Flatten any curled corners.
- Check that all apples face the same direction.
- Make sure the cream chain is not twisted.
Washing and care
Always follow the care instructions on the yarn label.
For small handmade decorative motifs, gentle hand washing and flat drying are usually the least disruptive options, particularly when multiple colors and sewn elements are involved.
Classroom safety note
This garland is intended as decoration, not a toy.
Secure it firmly and place it away from areas where small children can pull on long cords. Avoid loose buttons, beads, safety eyes, or other small detachable embellishments when decorating spaces used by young children.
Quick Printable-Style Summary
Project: Crochet classroom apple garland
Skill level: Beginner to Easy
Finished apple size: Approximately 3–3.5 inches wide
Garland size: Approximately 40–50 inches for seven apples, depending on spacing
Yarn: DK/light worsted cotton or cotton blend
Hook: 3.5 mm / E-4
Main stitches: Chain, single crochet, half double crochet, double crochet, slip stitch, increase, decrease
Apple starting method: Chain 7
Apple body stitch counts:
6 → 8 → 10 → 10 → 10 → 8 → 6
Stem: Chain 6, single crochet across from second chain
Leaf: Chain 7 and work stitches of graduated heights along both sides
Repeat: Make seven apples or desired number
Garland cord: Chain 30, attach apple, chain 18 between apples, finish with chain 30
Finishing: Weave in all ends, lightly block if necessary, attach securely out of children’s reach
FAQ
Is this crochet classroom decor pattern suitable for beginners?
Yes. The apple body primarily uses single crochet, increases, and decreases. The small leaf introduces half double crochet and double crochet, but it is only one short component.
The project falls within the general territory of basic-to-easy crochet because it uses familiar stitches with straightforward shaping and simple finishing.
What yarn is best for crochet classroom decor?
A smooth cotton or cotton-blend yarn is useful for flat motifs because it usually provides clear stitch definition and enough structure for decorative shapes.
Acrylic can also work. The final texture and size will depend on the specific yarn, hook, and tension.
How many apples should I make for a classroom garland?
Seven is a practical starting point for a moderate-size display.
Use fewer for a small door or shelf, or increase to nine, twelve, or more for a larger wall or bulletin board.
Can I make this garland without the embroidered cream highlights?
Absolutely.
The highlights are completely optional. A plain red apple with a brown stem and green leaf creates a clean traditional look.
Can I use different colors for every apple?
Yes.
A red, green, and yellow mix works especially well for an apple theme. Rainbow colors can create a more playful classroom display, while neutral colors suit a quieter reading corner or homeschool space.
Why is my crochet apple curling?
Common causes include:
- Tight tension.
- A tight foundation chain.
- Too few edging stitches.
- Uneven stitch placement along the border.
Light blocking may correct mild curling.
Can I use this apple motif for projects other than a garland?
Yes.
The motif can be adapted into a:
- Coaster.
- Appliqué.
- Gift decoration.
- Bag embellishment.
- Bulletin-board decoration.
- Teacher-gift tag.
- Bookmark topper.
- Individual hanging ornament.
Conclusion
Among simple crochet classroom decor patterns, a handmade apple garland is especially approachable because every motif is small, repetitive, and easy to customize.
The first apple teaches the complete process. After that, the remaining motifs become relaxing repetitions of the same seven-row body, short stem, small leaf, and simple finishing details.
Keep your first version straightforward: seven red apples, sage leaves, brown stems, and a cream hanging cord. Once you understand the construction, experiment with rainbow apples, school colors, personalized letters, additional motifs, or a longer bulletin-board display.
The real advantage of a repeated motif project is flexibility. One apple can become a small teacher gift. Five can decorate a classroom door. Seven can brighten a reading corner. Twelve or more can form a large handmade border across a classroom wall.
Save the tutorial for back-to-school season, teacher-appreciation projects, homeschool décor, or your next beginner-friendly crochet session.